
Part 1 – Part 2 – Part 3 – Part 4 – Part 5 – Part 6 – Part 7 – Part 8
This post continues a series on the intricacies of Cave Story’s design from start to finish. Before continuing, read the prior posts linked above. With that out of the way, let’s get moving.
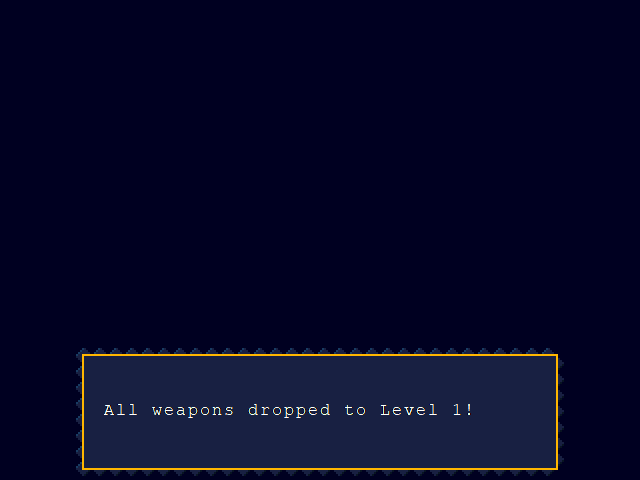
At the start of the Hidden Last Cave, all of the player’s weapons drop back down to level one. Any experience they have from here on out is only what the player has been able to collect since the beginning of the cave. As an added bonus, the enemies in the Last Cave drop negligible experience unless they’re using the Nemesis—which requires only one experience to “level up” and become worse. The player has to carefully balance weapon experience more than any time up to this point; there isn’t enough to go around, and a mistake will mean losing a fair bit of ground.
The Hidden Last Cave is one of exactly two areas in the game where the player is guaranteed to have the Booster 2.0. Because of how late this occurs, much of the content of the Last Cave is a sink or swim test of the Booster’s capabilities. This area makes full use of the multi-directional propulsion the upgraded model possesses, and it’s designed to teach the player how to handle it. The Hidden Last Cave has an unusual amount of antepiece setups for the average endgame level, but they work effectively as a crash course.

For instance, several jumps take a while to get to the next safe landing. The player has to effectively manage their fuel to make it across, and the spikes are a significant deterrent without punishing a single mistake with death. Late in the area, on the way up to the Red Ogre, there are a couple pairs of antepiece/setpiece setups with full, 180 degree turns. First moving down, the antepiece introduces the structure with platforms at the bottom for a safe landing, then a setpiece removes the platforms. The upward-moving example has the same qualities, rising up, then over, then down.
 This instance is split into three distinct jumps.

Once we exit the Last Cave, we end up on the Balcony, where everything enforces a feeling of calm before storm.
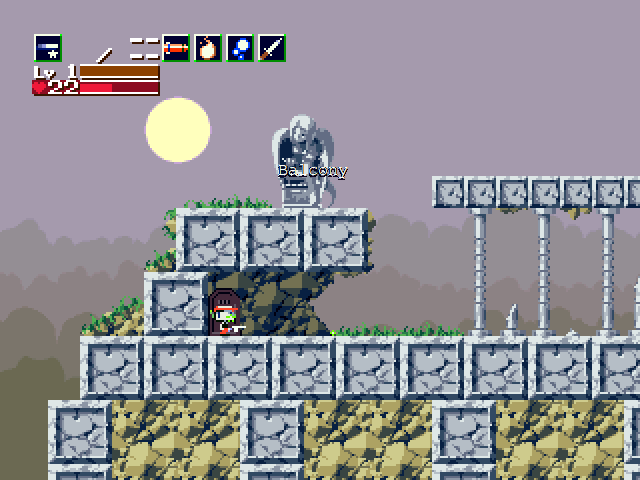
Compared to the cave we left, the Balcony is light colored—it even has a unique white/tan cloud background—and has slow, minimal music. There are no spikes nor any other stage hazards on the Balcony, and the only danger posed is by the rabid Mimiga, once bosses now degraded to minor threats. The Spur takes out Ravil in a single blow, and Igor only takes two. Did I mention the feeling of growth?

The last thing we have to get back to is the regular variant of the Last Cave. In overall shape, it is quite similar to the Hidden version, but because it doesn’t need to be a learning experience for the Booster 2.0, it’s more forgiving and takes less time to introduce new concepts. If the player is on the path to the final area, they’ll get the Hidden version to prepare them, otherwise, since they don’t need it, they get this version.

In a couple of locations throughout the cave, there are side areas that afford a view of the cave to come. These offer a general idea of the area ahead, so the player won’t be taken by surprise. And even though the regular variant of the Last Cave doesn’t have to teach the player about the Booster, it still has antepiece setups in a few places, most notably with the fans near the end.

This one was back and forth a bit, but we’ve reached the end—and the end of the game won’t be far behind. Join me back here in a few weeks to break down what comes next.