 |
 |
 |
 |
 |
 |
 |
 |
 |
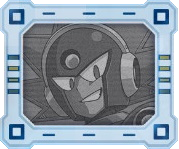
Welcome back to the new series on the level design of Mega Man 11! After the last post (which you can read here), the players are set. The first stage we’re analyzing is Boing-Boing Park, an athletics facility playing host to Bounce Man. Before we get started, I’d like to highlight the music—both the original electronic version and the instrumental. They both have a light, whimsical tone which supports the bright colors and frequently toy-like scenery. I haven’t touched on music frequently in the past, but it’s an important part of establishing the tone of a space, and Mega Man has always been top-notch about it.


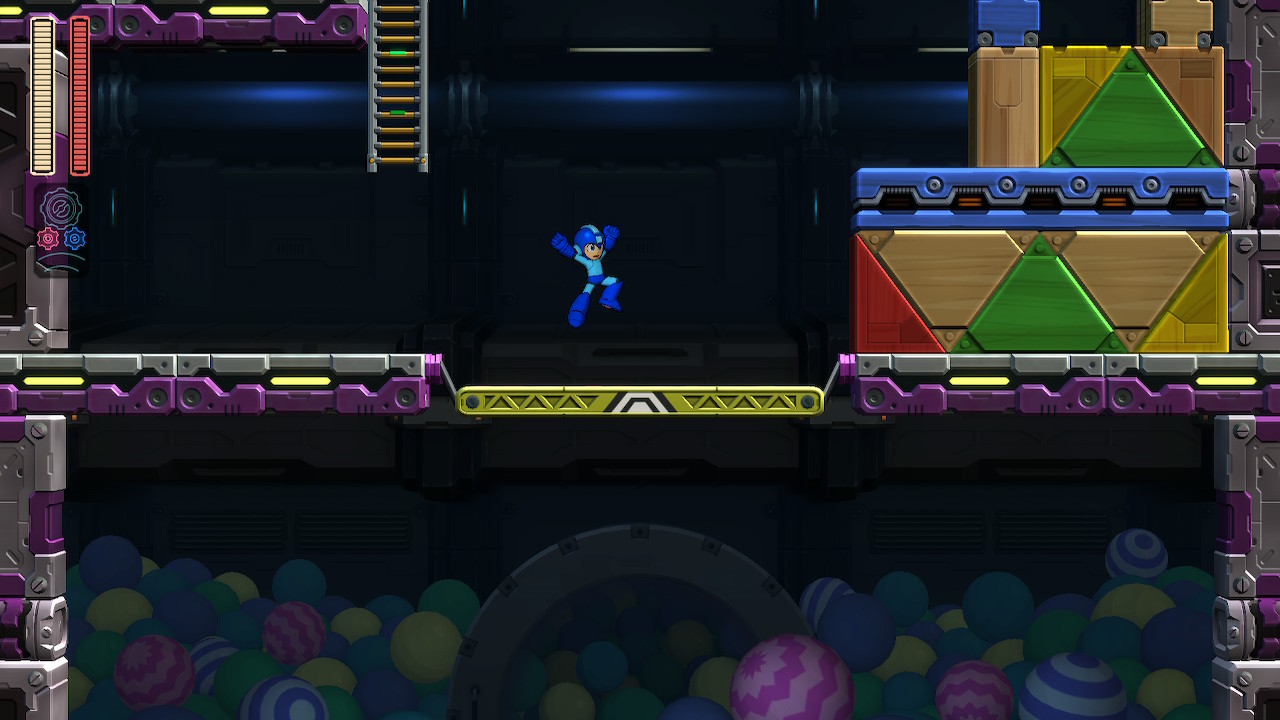
The stage starts peacefully enough in a large, vertical room with a visually distinct platform at the bottom. Should the player hazard a jump onto this platform, they’ll harmlessly bounce a little ways into the air.
The trampoline platform alone can’t get them to the top of the room, however, so they’re forced to take the ladders and additional platforms to gain height. Fittingly for a Mega Man stage, danger is only a single ladder away; a floor-patrolling Gabyoall lies in wait, but it can’t hit the player while they’re still on the ladder.
Navigating past it and up another ladder introduces a second stage mechanic: bouncy, rubber ball platforms. Unlike the trampoline below, which bounces the player to a height relative to where they dropped from (and won’t bounce them at all if they just walk on it), the rubber balls always bounce them to one of two heights: a normal, low bounce and a higher bounce if they hold the jump button.

Getting past this first set of rubber balls requires a high jump and provides the player a safe place to figure them out, should they need it. This may not guarantee understanding, but they must at least know that the ball platforms can bounce to two heights. Another ladder (and another Gabyoall on Normal or higher) leads the player to a drop, directly above the earlier trampoline. The height gained by scaling the room provides enough force for the trampoline to rebound them all the way back up to the exit ladder.
Two paragraphs and we’ve only just left the first room! We’ll pick up the pace as the stage goes on. In the second room, the rubber ball platforms make a return, this time lining a vertical passage. Holding the jump button when colliding with the sides bounces the player upwards, otherwise they’ll rebound towards the floor.

When they reach the upper level, they’ll find a Bunby Balloon flying in wait. These airborne robots drift back and forth hanging from a bunch of durable, steel balloons. The robot itself is easy to shoot down, but the balloons then break away and float in place, remaining as midair obstacles until they’re destroyed. Normal attacks won’t faze the balloons; only fully charged attacks or a select few special weapons can get rid of them. Though downplayed, this is also the first example of the boss’ weakness being particularly useful in the stage leading to them, as it is capable of popping the steel balloons.
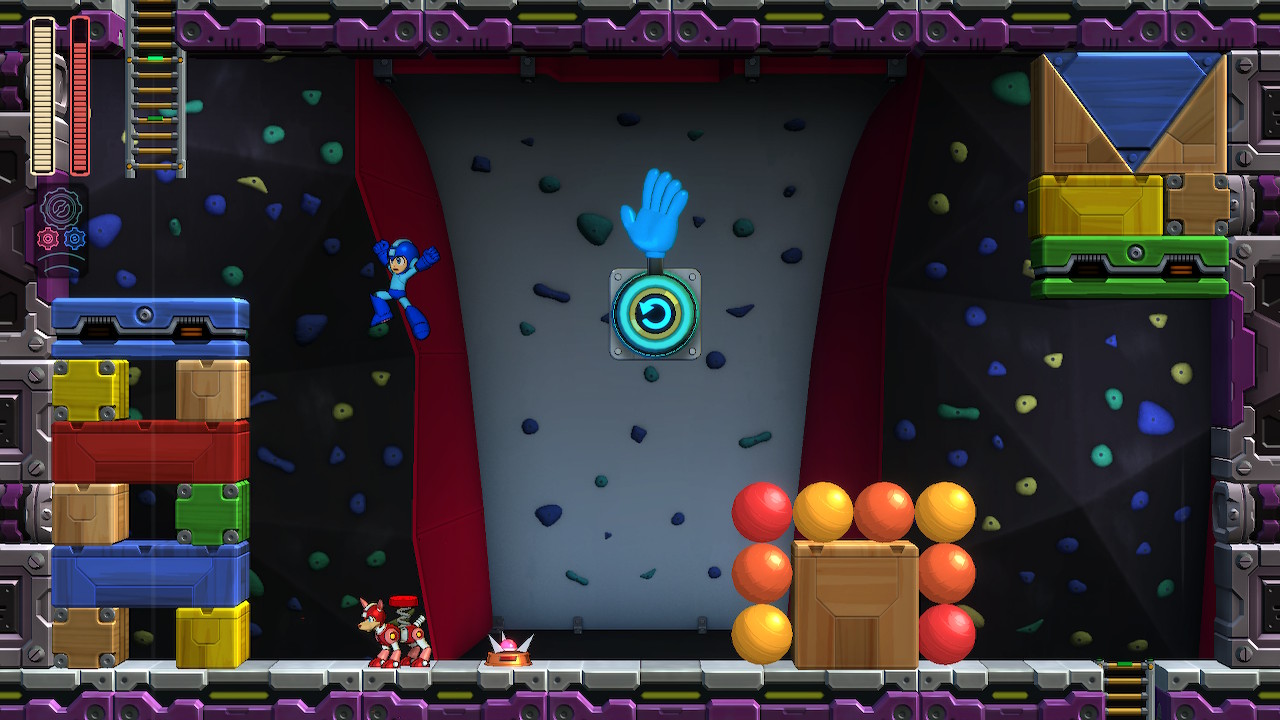
Another high bounce to yet another ladder leads into the next room, and the first instance of yet another stage mechanic: inflatable hands. Shooting the hand deflates it, causing it to rotate counterclockwise to the underside of the platform.

A few seconds later, it reflates and swings back to the top, flinging any player who happens to be in the way. This way, the player can reach the room’s exit—and as an added bonus, a high rubber ball bounce is required to access the hand platform in the first place.
In most cases, this many required uses of the rubber ball mechanic would provide a reasonably solid guarantee that the player knew how to use them by now. However, there’s one very dog-shaped thorn in that idea: Rush Coil. The player can summon Mega Man’s robot companion as a springboard with the push of a button, offering an easy workaround to obstacles where vertical reach is concerned.
There are plenty of opportunities to use this ability, especially in Bounce Man’s stage, but it’s not infinite; a full charge of Rush Coil can be used seven times before it runs out, and only enemies or the rare preset item can refill it. The ability is never required, but it provides limited access to a literal boost for a player who may need it.
The next room is covered from floor to ceiling in rubber balls, and the enemies within fit the same description.
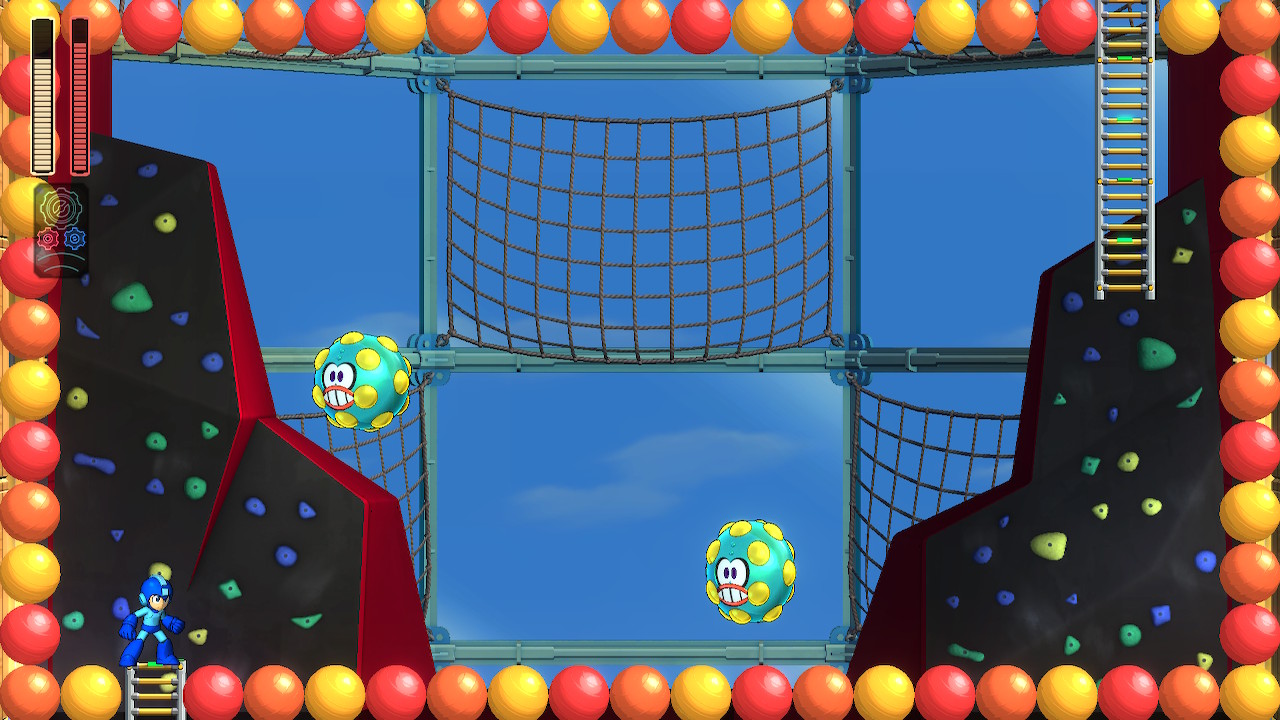
Boyorns, as they’re called, slowly bounce towards the player and rebound wildly when attacked. The perpetually-bouncy floor makes fighting them more of a challenge, but the room is completely open aside, to offer the player plenty of space to learn how best to fight them.
Most everything we’ve seen thus far is synthesized through the fifth room of the level: another lengthy ascent covered top to bottom in rubber ball platforms. A Boyorn appears for an immediate encore, followed by the clockwise variant of the hand platforms. Throw in a Cannonpeller II and a couple of Bunby Balloons and we have a veritable rogue’s gallery of the first section. It’s the first case where the stage starts to ask more of the player, but it can be easily broken down into steps, as the slideshow to follow illustrates. As an added bonus, the extra life below the final platform in the room is only accessible using Bounce Man’s weakness, Pile Driver, as a mid-air dash.
 Take out an angry exercise ball...


The couple of rooms to follow provide a bit of a breather from more complex obstacles. Boyorns make their first appearance without rubber ball platforms, and while the geometry of the room presents a challenge, a block near the ceiling slows the closest one down so the player can escape. The second of these rooms features the first instance of infinitely-spawning Lyrics, but their low durability makes them more of a nuisance than anything.

Notably, this room directs the player to use hand platforms differently; to reach the exit, they must jump across several platforms before the hands swing up and fling them backwards.
The next room is another ascent, this time with several careful bounces between suspended rubber ball platforms. Failure is a slap on the wrist, as it means falling to the floor below and into the territory of a roaming Gabyoall—which, incidentally, can also be destroyed with Pile Driver where even a fully charged shot only slows it down. The space between the platforms encourages use of both high and low jumps, and a large weapon energy refill incentivizes a little extra exploration.

This time, it is not the vertical room but the one following it which provides more synthesis. A Boyorn approaches the bouncy terrain near the room’s entrance, hearkening back to their introduction. With it taken care of, the player has a couple of options with the hand platform in the middle of the room.

To proceed, they must fling into some horizontal jumps on yet more rubber ball platforms. However, they can also jump from the platform into a different ball wall to reach some life and weapon energy refills before the challenge ahead.
Said challenge presents itself in the form of a large, inflatable frog: the stage’s miniboss, Frog Balloon. It jumps and swings across the room with its tongue, then tries to grab the player. Avoiding or breaking free causes its tongue to snap back, temporarily making it vulnerable to a wider range of attacks.
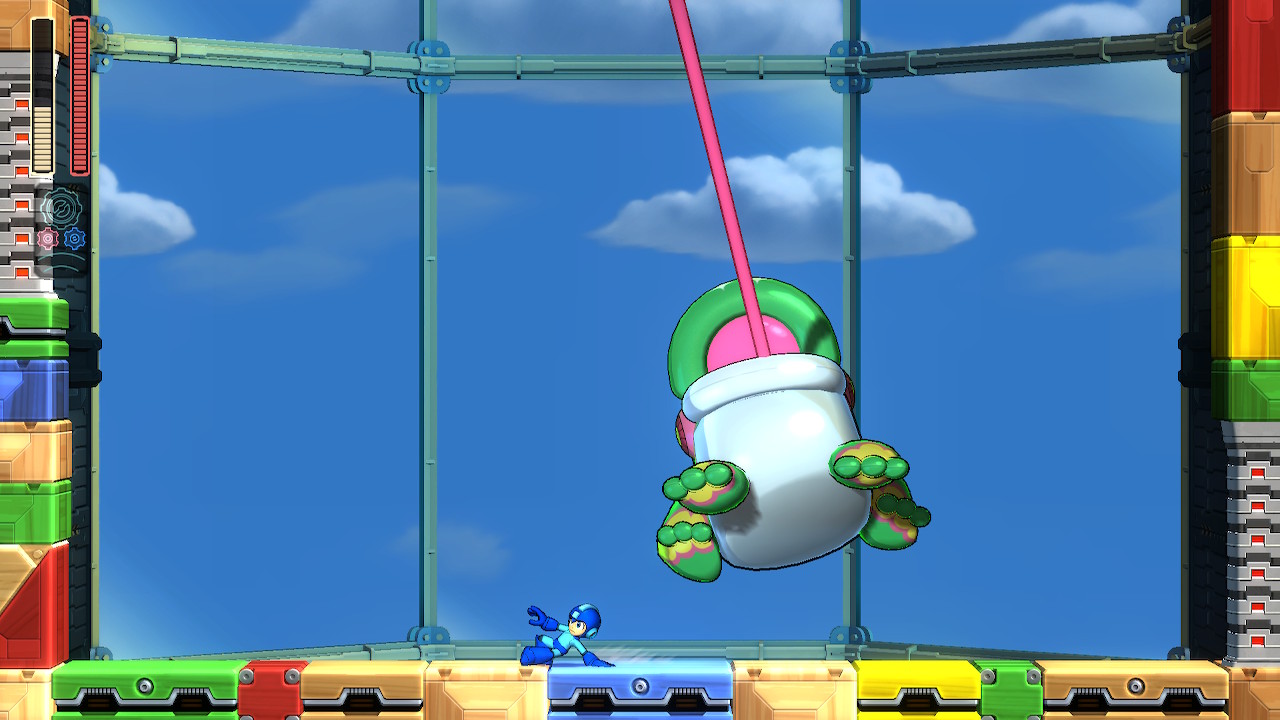
Dealing enough damage causes the balloon to burst, revealing the true enemy: Pump Master K, who releases Poyorns (weaker, green Boyorns) and frantically reinflates Frog Balloon. Overcoming the miniboss’ movement pattern requires use of the slide ability and a quick trigger finger—but as one may expect, it’s also weak to Pile Driver.
After the midboss comes the first checkpoint in the stage (on Normal or higher difficulty), along with the first risk of instant death. The room consists mostly of rubber ball jumps above bottomless pits, with a couple of new enemies to boot. The first is Tatepakkan, a shielded turret which requires good timing or powerful attacks to defeat. Speed Gear is a useful support ability for a player struggling with the former. The second and perhaps more relevant new enemy is the Tosanizer V, which leaps out of some bottomless pits to catch the player off-guard.

Generously, rather than simply interrupting their momentum, the Tosanizer V pushes them backwards. It’s not a guarantee, but it is far more likely for the player to survive and land on the platform they just left instead of careening to their death. Less generous is the single hand platform in this room, which will happily fling them into the abyss if they don’t jump off fast enough. The final point of note in this room is the set of rubber ball platforms at the end, which is the first time the player can’t completely circumvent a high jump using Rush Coil.
Let’s compress the next several rooms, shall we? The serpentine shape of the next room makes the rebounding Boyorns an interesting challenge, but it’s quite straightforward otherwise. The rooms afterward call back to earlier rooms, first with a more complex set of hand platforms to cross, then another rubber room with Boyorns—this time with loose balloons in the way. Capping off this series of callbacks is another vertical room with some troublesome Bunby Balloons and a Tatepakkan thrown in for good measure. This room revolves around horizontal rubber ball jumps and provides ample opportunity to get acquainted with them; an E Tank (a one-time full health refill the player can use any time) incentivizes a somewhat trickier jump near the end of the room. The final push before the second minboss similarly incentivizes braving the territory of a Gabyoall with a pre-battle health refill.
 Speed Gear is all but necessary to snag the weapon energy refill from Anti-Eddie.


Frog Balloon makes a repeat appearance here, but with a slight twist: the floor is bouncy. While this does make it harder to land a shot, the most significant impact is that bouncing prevents the player from sliding.

Rather than passing under the swinging Frog Balloon, this terrain requires them to bounce over it. Otherwise, the fight proceeds the same as before, and another checkpoint awaits on the other side.
As before, the room with the checkpoint presents a more difficult challenge with higher consequences for failure. It may seem severe to follow a miniboss with bottomless pits, but this is actually the least punishing place to put them—as long as they have an extra life, all the player stands to lose is their progress through the room. The challenge here is the trickiest use of hand platforms the level offers: using two in turn to cross back and forth over a pit with very little extra room to maneuver.

The angle they launch the player at is relative to the hand’s angle when it connects, so standing further back on the platform will launch higher while standing toward the front will launch lower. Because the exit of the room is directly above the entrance, however, this is a prime location to skip with Rush Coil if the player doesn’t need the weapon energy across the room—though calling Rush at a useful position and actually landing on him is a trial in itself.
The next couple of rooms present a spectacle fitting of the level’s climax: a shift from the vibrant daytime backdrop to a star-spangled planetarium. It’s been present throughout the entire stage, but now is a particularly clear time to bring up the fact that differences in color and vibrance keep the foreground from fading into the background. Enemies, projectiles, and Mega Man himself are brightly colored and sometimes glowing, with quick, eye-catching animations. The rubber ball platforms—even in the subdued nighttime palette—are always pink, orange, or yellow to stand out against the background, and solid platforms maintain a gray and purple color scheme with glowing accents and shading to distinguish them as well. Meanwhile, the ever-present background is dark blue and black, with a slow, subtle animation that doesn’t distract from the foreground elements. Even in the daytime parts of the stage, the background is generally a mix of sky—a desaturated blue to avoid blending with Mega Man—and a darker climbing wall. This is a common technique in 2D games, especially platformers, so the art can be diverse and interesting without taking away from the clarity of gameplay.

The first planetarium room is the only room in the level with bottomless pits and no checkpoint on Normal or higher difficulties. The majority of the room is ball platform bounces over the aforementioned pits, with a few Tosanizer Vs, Cannonpeller IIs, and infinitely-spawning Lyrics thrown into the mix. Fittingly for one of the final rooms in the level, it’s one of the most challenging, but the ground extends past the first couple of jumps, and the path through the room doubles back over itself halfway through, so there are plenty of potential safety nets.

Just past the ladder out of the room, there’s a W Tank (like an E Tank but for weapon energy instead of health) on a distant ledge. Should the player have the Rush Jet ability from clearing four stages prior, they can use it, otherwise they can reach the tank with combined use of Pile Driver and the Speed Gear ability.
The planetarium room to follow doesn’t have any sudden death, but it is far more riddled with enemies. Chances are, if appeared elsewhere in the level and not in either of the previous rooms, it’s in this one. More Bunby Balloons, more Gabyoalls, and even more rubber ball platforms. The central point of the room, however, is the trampoline making a reappearance from the very first room.

This type of platform is present twice in this room, with a few more obstacles to work around compared to its introduction. Should the player feel particularly daring, they can use the second trampoline to reach a bit of health opposite the exit ladder—or they can use Rush Jet or Pile Driver. Discontent with being anything but the final obstacle in their path, one final Boyorn makes its stand in the last room before Bounce Man’s lair.
One final checkpoint corridor later, the player arrives face to face with Bounce Man. The spherical assailant takes up a fair bit of space, and he knows how to use it; most of Bounce Man’s plan of attack is simply to bounce around the room and collide with the player. If he passes over the player on the way across the room, he’ll halt in midair and attempt to drop on them, and when he hits the wall and turns around, he’ll stop to throw an extended punch at wherever they’re standing. Occasionally, rather than retracting his arm after a punch, he’ll pull himself to the hand and continue bouncing from there. On its own, this would be a challenge to overcome, but every boss in Mega Man 11 also uses one of the two Gear abilities as a desperation attack below half health. In the case of Bounce Man, he uses Speed Gear to bounce even more erratically without stopping to slam or punch.
 He may be large, but he's no heavyweight--he'll bounce circles around Mega Man if given the chance.


So what options does the player have, beyond the tried and true strategy of “shoot a lot and don’t get hit?” For one thing—like the Boyorns throughout the stage—hitting Bounce Man with a full-power Charge Shot causes him to rebound and keeps him from attacking briefly, so long as he isn’t already in the middle of an attack. His weakness, Impact Man’s Pile Driver, has some interesting effects. It does significantly more damage than a basic attack and causes Bounce Man to break apart, but this is a double-edged sword. While he’s disconnected, Bounce Man can only bounce around, but there are five smaller pieces to avoid in addition to his torso. This very clearly demonstrates the impact of using the boss’ weakness, but stands a chance at actually making the battle more difficult.

However they choose to fight Bounce Man, defeating him grants the player the Bounce Ball weapon, which fires a three-shot spread of rubber balls that rebound off of surfaces and enemies. It can be angled up or down and fired in midair as well. When Power Gear is active, it adds another set of three rubber balls firing in the opposite direction of the others—for instance, if the shot is angled upward, the additional shot will go down behind the player. This effect is especially useful for clearing rooms full of enemies, as the sheer number and erratic movement of projectiles tends to find even the most troublesome foes.
Each boss the player defeats grants them another ability to help them going forward; though many players would rather conserve ammo until they absolutely need it, every weapon serves a uniquely practical purpose. We’ll see some such applications of Bounce Ball in a couple of weeks. Check back then for the next step in the path!